

What you will need...
1. Tee-shit/sweatshirt
2. Transfer Paper
3. Iron
4. Printer
This project cost me only around $10 and you get to put whatever you want on it, so why not. I got the transfer paper for this project from Michaels for about $10 but it comes with 10 sheets, so its really just a dollar per sheet. I went to Target and Walmart to find a plain white tee-shirt but I couldn't find any, so I ended up getting this one from Amazon for $7.
I also got a plain white sweatshirt for $10, but I haven't put anything on it yet.


I also got a plain white sweatshirt for $10, but I haven't put anything on it yet.
So getting into the project, the first thing your going to want to do is wash your shirt. Because the ones I got were cheap, they both shrunk a size. I did order them a sizer larger though, knowing this would happen.
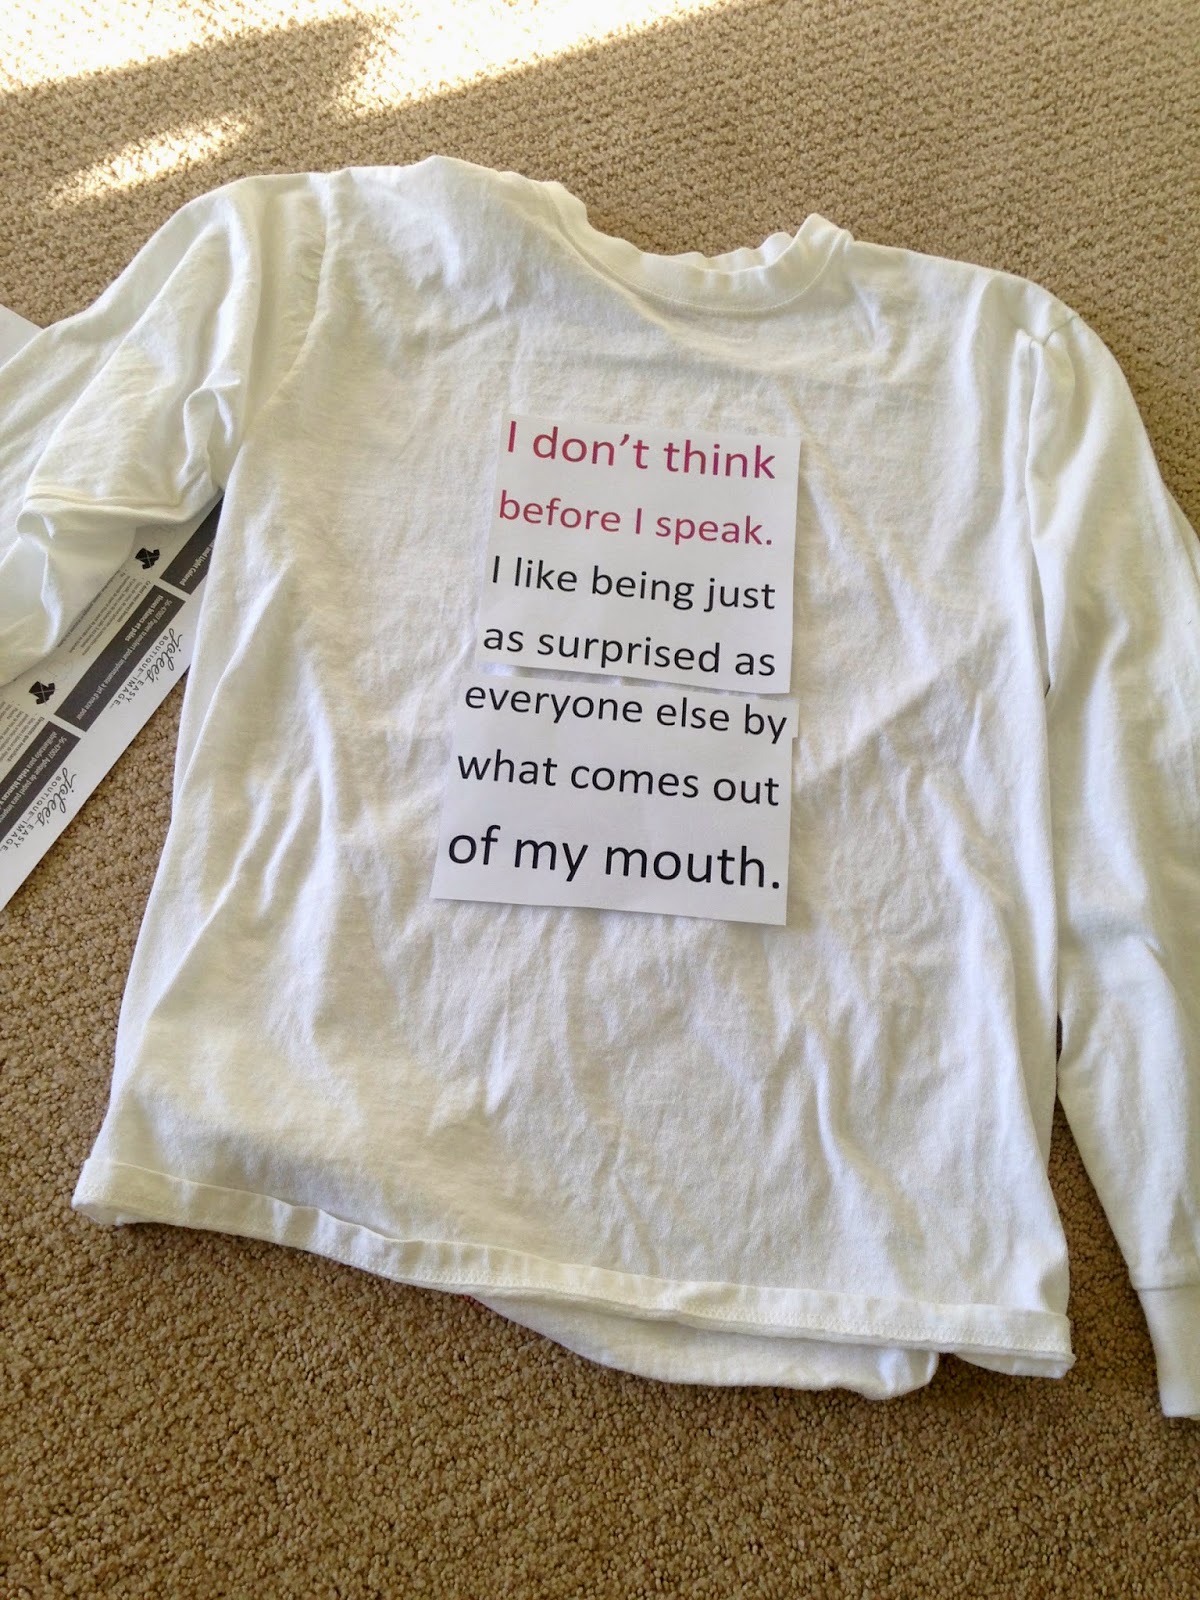
So after your shirt is washed and you know what you want to put on it, its time to print. Before I printed on the transfer paper, I printed the design on normal paper to make sure I liked it.
This step is really important because as you can see the words were way to small. After I fixed that, I was ready to print the design.
READ THE TRANSFER PAPER DIRECTIONS. I know, blah directions, but each brand of transfer paper is different. If your picture has words on it, make sure to reverse them.
So after you have printed on the transfer paper, its time to iron on. Again READ THE DIRECTIONS. For mine, all I had to do was iron it on, but I know some brands have a sheet of paper you need to pull off.
Let it cool for a few minutes, and you're done!
That's it. Supper easy and quick. I know that there are a lot of other videos and blog posts out there on how to make a tee shirt but I was making it and thought what the heck. I hope you all have a great November (which is my favorite month).
Love, Riley