Thursday, December 18, 2014

Holiday Gift Guide 2014


Hey there! Oh My God, can you believe Christmas is almost here? The month has gone by so fast. Christmas is my favorite holiday for many reasons... Christmas movies, Christmas dinner, music, cookies, receiving gifts, giving gifts, I could go on an on but I'm guessing the reason you are here is because you need gift ideas for people. All the gift ideas in this gift guide are $20 or less. I don't know about you but I want to give everyone great gifts, sadly I can't spend $30 plus for every present. This year I have managed to spend $20 or less on every gift. So without further adieu, here are the gifts I'm giving this year. 


The first gift idea I have is nail polish. I personally can not live without nail polish on my nails, so I love to get it as a gift. The one I have here are from Butter London. I know, Butter London, why would you ever spend that much on nail polish? Well these two come in a set and it's only $15 for both (which is a deal being that one is like $20). I have not used Stardust, the sparkly one, but I have used the other one (I don't remember the name). I did really like how the color looked on.


If you don't have much to spend on Christmas gifts, re-gifting is always a great option. I have 2 lip glosses that I don't really like the color of. My mom had mentioned she really liked the two colors, so I am going to give them to her for Christmas. 


Smelling good is a must and one of my favorite brands is Philosophy. The Vanilla Birthday Cake smells good even if you're not a vanilla person (like me).


Really cute, and cheap (wooo) gifts can always be found at Forever 21. I thought these bows wear cute and inexpensive.


You may see a trend, but I have a lot of people in my life who like bows. These ones are from a shop on Etsy. I absolutely love Etsy, I think it's a great place to find original gifts. 


Guess what? More bows from the same shop on Etsy! I thought the bows were so perfect and super cute, so I got another box for my sister. 


 What is winter always associated with... Hot Chocolate! And of course everyone needs an awesome mug to put their hot chocolate in. I lost my picture with makes me really sad because I had another cute mug too, anyway I had to take the websites picture. 


This is the only product on the gift guide over $20, but the reason I decided to put it on is because Bath and Body Works candles are always on sale. Personally, I don't believe their candles are worth $22. I won't pay over $11 for them, but they still smell amazing. I think they are such a nice gift to give, especially if you're going to someones house for a Christmas party and you need a hostess gift. 


Next I have a makeup palette. There not very pigmented, but I love the packaging so much. I know that's not a good reason to buy makeup, but it's so pretty. But I do really like the dark brown color on the bottom. 


I really don't drink anything besides water, but if I do, I drink tea. The raspberry limeade tea from Teavana is one of my favorites. I prefer it iced, but in the winter it is great warm. (I left a bag out the other day and my dog ate it)


I got this ornament from Crate and Barrel for a friend (and myself). I think it looks so nice on my Christmas tree and I can't wait to give it to her.


I love The Body Shop and around Christmas they always have great gift sets. I got a few gifts for people (one of them being myself) from the body shop this year because on Cyber Monday almost everything was 50% off!


A great way to save money is to buy gift sets and split them up. You can do it with any gift set, but I bought earrings from World Market and put them on sparkly paper. 


I saved my personal favorite for last. My friend Rebecca loves chocolate and peanut butter, so when I found these there was not doubt in my mind these Dark Chocolate Peanut Butter Bites were for her. I have not tried them, but I have a feeling they will be amazing. 


That's it for my 2014 holiday gift guide. I sorry this took so long to get up, I was half way done but I forgot to save it and lost everything when I turned my computer off. Anyway I hope you have a wonderful Holiday season and Merry Christmas!
Love, Riley


Sunday, November 2, 2014

DIY Graphic Tee-Shirt


 Hey everyone, for a while I have really wanted to make my own tee-shirt so I thought I would share how I made mine. 

What you will need...
1. Tee-shit/sweatshirt 
2. Transfer Paper 
3. Iron
4. Printer 

This project cost me only around $10 and you get to put whatever you want on it, so why not. I got the transfer paper for this project from Michaels for about $10 but it comes with 10 sheets, so its really just a dollar per sheet. I went to Target and Walmart to find a plain white tee-shirt but I couldn't find any, so I ended up getting this one from Amazon for $7.
I also got a plain white sweatshirt for $10, but I haven't put anything on it yet.


So getting into the project, the first thing your going to want to do is wash your shirt. Because the ones I got were cheap, they both shrunk a size. I did order them a sizer larger though, knowing this would happen.

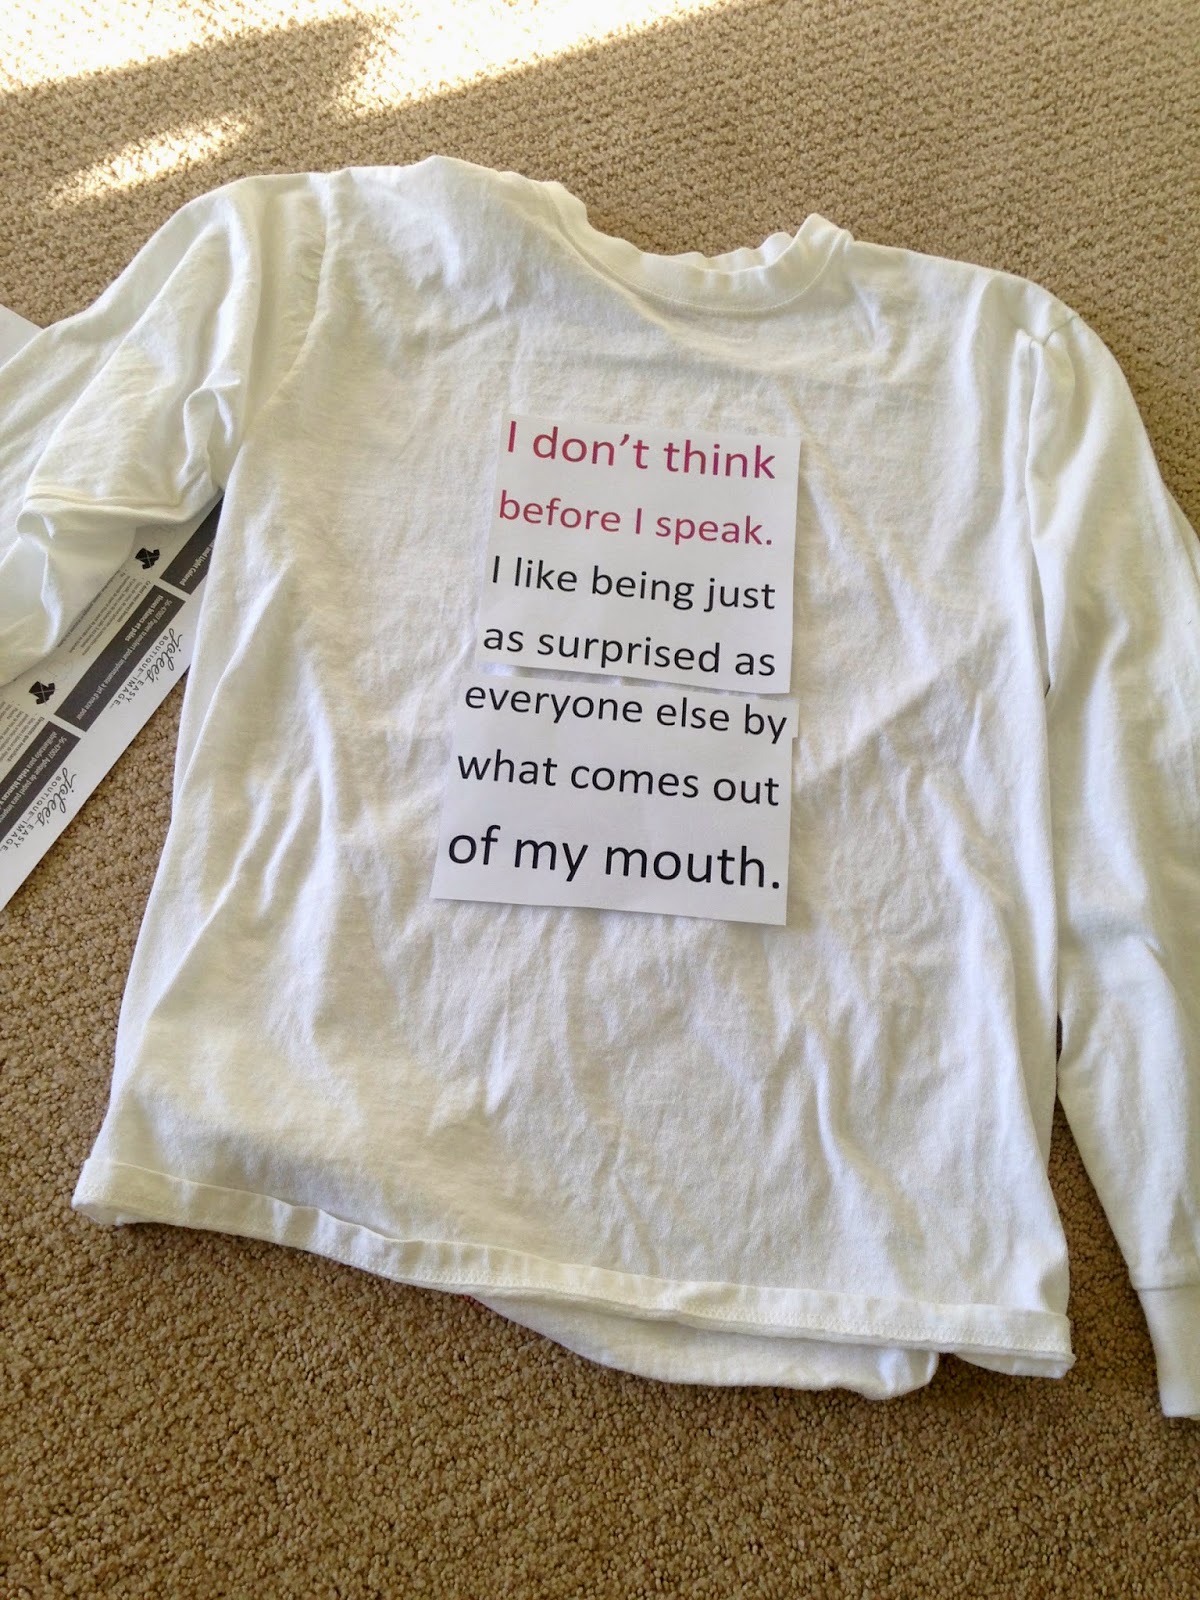
So after your shirt is washed and you know what you want to put on it, its time to print. Before I printed on the transfer paper, I printed the design on normal paper to make sure I liked it. 

This step is really important because as you can see the words were way to small. After I fixed that, I was ready to print the design. 

READ THE TRANSFER PAPER DIRECTIONS. I know, blah directions, but each brand of transfer paper is different. If your picture has words on it, make sure to reverse them. 

So after you have printed on the transfer paper, its time to iron on. Again READ THE DIRECTIONS. For mine, all I had to do was iron it on, but I know some brands have a sheet of paper you need to pull off.


Let it cool for a few minutes, and you're done! 


    That's it. Supper easy and quick. I know that there are a lot of other videos and blog posts out there on how to make a tee shirt but I was making it and thought what the heck. I hope you all have a great November (which is my favorite month). 
Love, Riley


Monday, October 13, 2014

My Vintage Pictures


Hey everyone!


So some people may say I have a strange obsession with vintage pictures. I'm not really sure why, I just think it's cool to have something no one else will ever have (plus you have to admit they are really interesting to looks at). I haven't thought of a way to use them yet, so I just thought I would show you some of them until I find something I want to do with them.


So I went to an antique mall this past weekend, and found some pictures I really liked. Most pictures I find are about $3-$7 each so when I found a whole bin labeled  5 for a $1, I couldn't look anywhere else. I was there for probably 2 hours and looked at only pictures.


First, I found this picture of 3 ladies and a man in a car. I know absolutely nothing about cars, so if you know what type of car this is, please tell me because I would love to know.


Next, I found a picture of 2 girls and a boy. Looking at it now, you can see half of another boy on the left. There were names on the back of the picture, so I am just guessing it's their names (Bud, Myrtle, and Holly).


The next picture I got is probably my favorite and I'm not really sure why. It's just 2 girls on a log. 


I picked this picture because I thought it was kinda strange. Even a little creepy (and I am not one who likes creepy things) so I'm not really sure if I like it hanging in my room.


So, I got this picture because it's interesting. 2 guys in suites, with a cow. The first thing I thought when I picked it up was "I wonder what the cows name is". I am now realizing it is actually called a calf. 


Lastly, I got this picture because we have the same name. I didn't even have to think twice. 


I have a few more pictures, but I didn't want this post to get too long. Please let me know if you have a strange obsession with vintage pictures so I know I'm not the only one. Also, I would love some ideas for projects I can do with them. Hope you all have a great Columbus Day!
Love, Riley


Monday, October 6, 2014

How To Make A Crate Shelf.


Hey everyone!

So this is a cheap, easy project that only took me 20 minutes to put together.

What you're going to need
*Crate/wood box
*Wood
*Tape Measure
*Saw
*Screws/Nails
*Screwdriver


So about a month ago I was at an estate sale and found this really great crate that looks like it was used to transport wine. It was originally $20 but I got it for only $10.
I wasn't sure what I wanted to use it for at first, but then I remembered the huge pile of nail polish under  my vanity. So project make a crate shift had begun.


So first things first, decide how many spaces you are going to want. I wanted 3 but I am only using it for nail polish, so if you are looking to use it for bigger things you may only want 2.  Next you have to measure the length and the width of the crate. I decided to make the shelf landscape so I measured the width which was 13in. Then I divided it by the number of spaces I wanted, which is 3. So each space was about 4.3in wide. Next I marked 4.3 inches on the side of the crate to mark where the wood would go in.


Now measure the length of the crate. Mine was 19.5in, so then I marked the wood that goes inside the crate 19.5in. If you are using 2 pieces of wood remember to mark both. You may want to draw a light line for when you saw the wood.


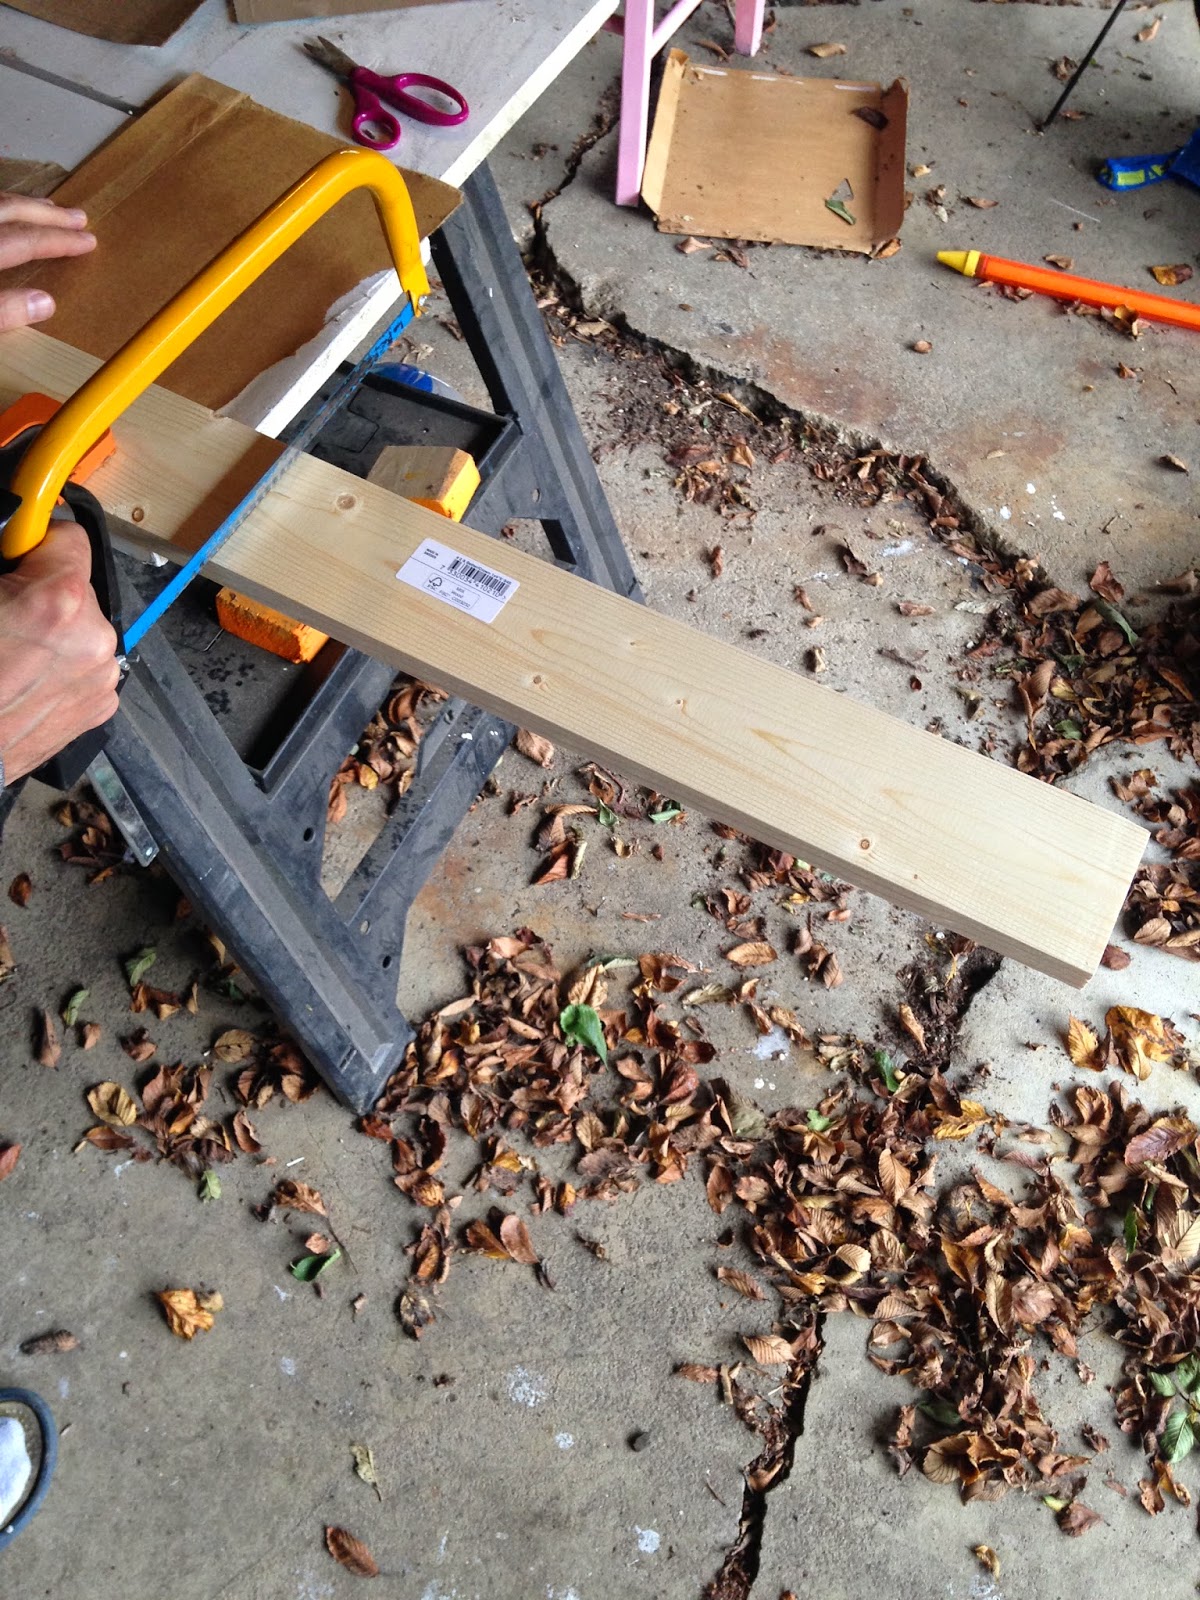
The next step is to saw your wood.


After your done you may want to sand the edges. Put the wood in the crate to make sure it fits. If it's too big you can always saw the edges.


The last step is to screw the wood into place.


Now you have your new crate shelf. I like how it turned out, but I may end up painting it white. This only took around 20 minutes to put together and ended up costing me only $15!


Thanks for reading and I hope you all have a great October!
Love, Riley