

Hey everyone!
So this is a cheap, easy project that only took me 20 minutes to put together.
What you're going to need
*Crate/wood box
*Wood
*Tape Measure
*Saw
*Screws/Nails
*Screwdriver
So about a month ago I was at an estate sale and found this really great crate that looks like it was used to transport wine. It was originally $20 but I got it for only $10.
I wasn't sure what I wanted to use it for at first, but then I remembered the huge pile of nail polish under my vanity. So project make a crate shift had begun.

So first things first, decide how many spaces you are going to want. I wanted 3 but I am only using it for nail polish, so if you are looking to use it for bigger things you may only want 2. Next you have to measure the length and the width of the crate. I decided to make the shelf landscape so I measured the width which was 13in. Then I divided it by the number of spaces I wanted, which is 3. So each space was about 4.3in wide. Next I marked 4.3 inches on the side of the crate to mark where the wood would go in.


Now measure the length of the crate. Mine was 19.5in, so then I marked the wood that goes inside the crate 19.5in. If you are using 2 pieces of wood remember to mark both. You may want to draw a light line for when you saw the wood.

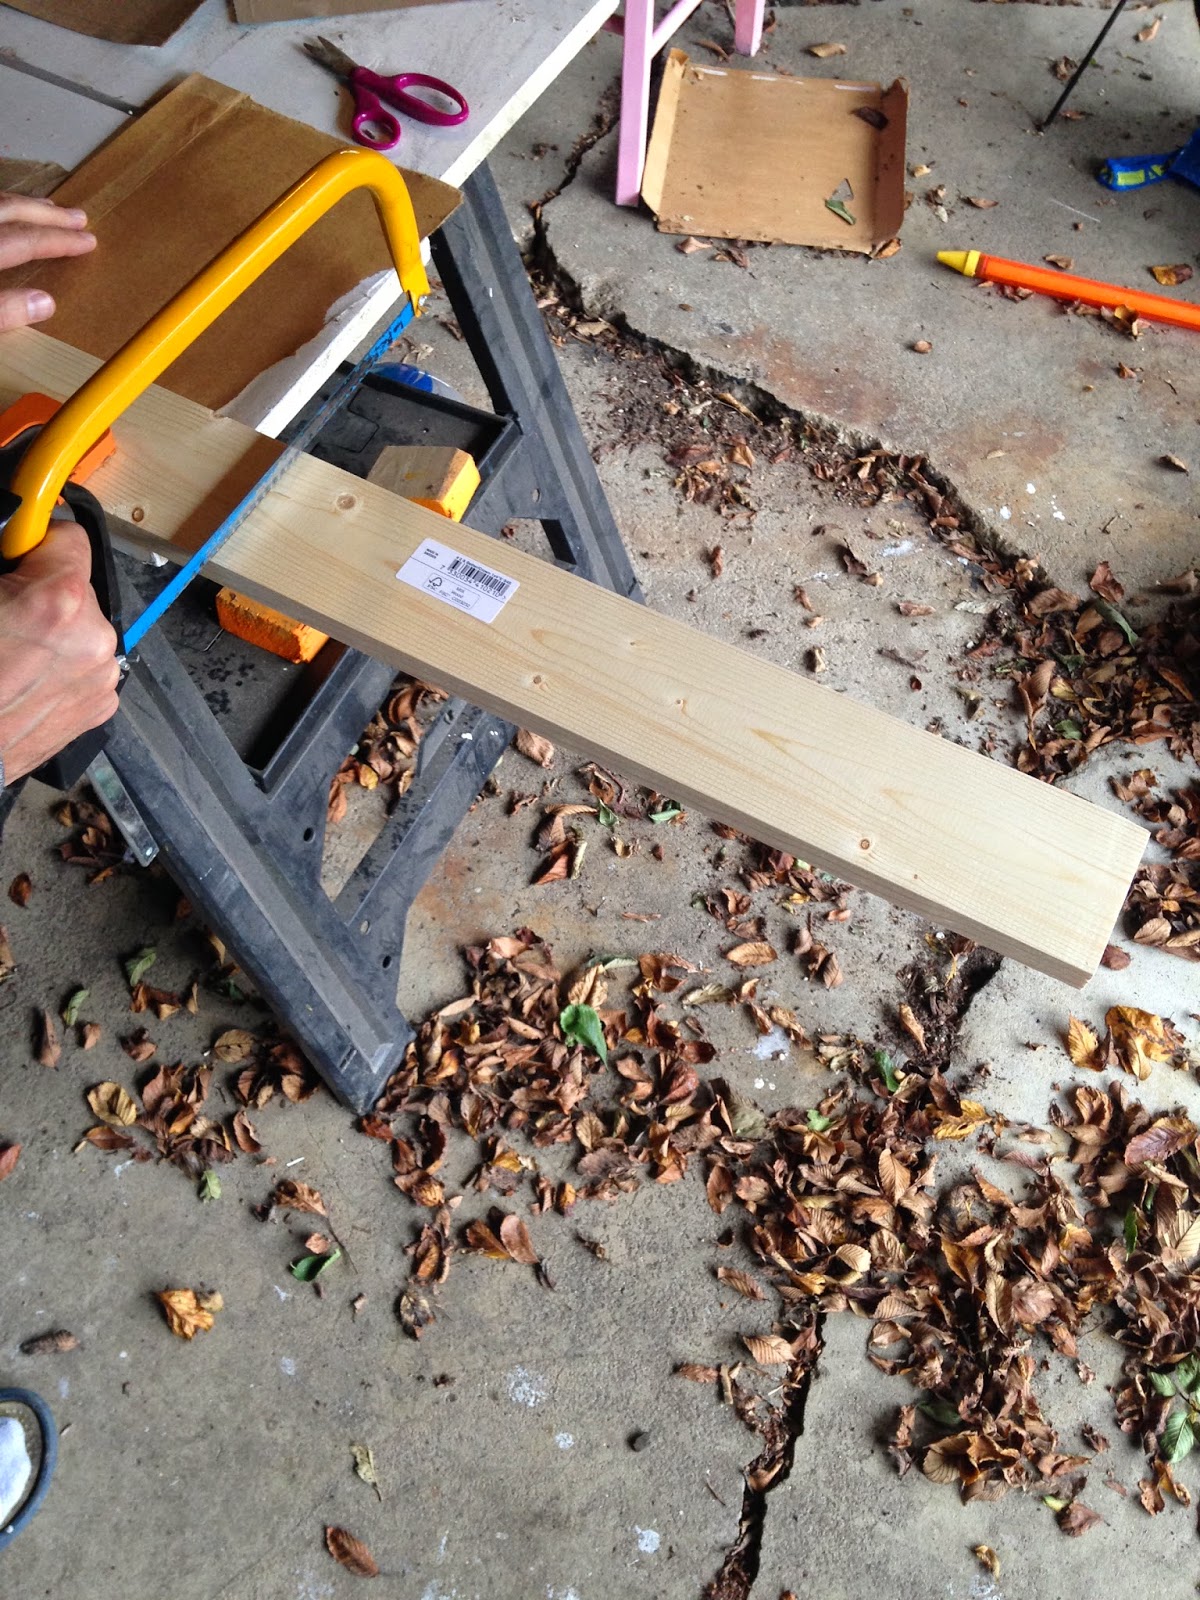
The next step is to saw your wood.
After your done you may want to sand the edges. Put the wood in the crate to make sure it fits. If it's too big you can always saw the edges.

The last step is to screw the wood into place.

Now you have your new crate shelf. I like how it turned out, but I may end up painting it white. This only took around 20 minutes to put together and ended up costing me only $15!

So first things first, decide how many spaces you are going to want. I wanted 3 but I am only using it for nail polish, so if you are looking to use it for bigger things you may only want 2. Next you have to measure the length and the width of the crate. I decided to make the shelf landscape so I measured the width which was 13in. Then I divided it by the number of spaces I wanted, which is 3. So each space was about 4.3in wide. Next I marked 4.3 inches on the side of the crate to mark where the wood would go in.
Now measure the length of the crate. Mine was 19.5in, so then I marked the wood that goes inside the crate 19.5in. If you are using 2 pieces of wood remember to mark both. You may want to draw a light line for when you saw the wood.
The next step is to saw your wood.
After your done you may want to sand the edges. Put the wood in the crate to make sure it fits. If it's too big you can always saw the edges.
The last step is to screw the wood into place.
Now you have your new crate shelf. I like how it turned out, but I may end up painting it white. This only took around 20 minutes to put together and ended up costing me only $15!
Thanks for reading and I hope you all have a great October!
Love, Riley
No comments:
Post a Comment